The Oculus Rift is an upcoming virtual reality head-mounted display, being developed by Oculus VR.
Even though it is not officially released I managed to get the Development Kit 1.
The Oculus Rift looks a lot like a ski goggle with a display mounted in display in front of it.
The user wears it also like a ski goggle and sees the screen through a changeable pair of lenses.
Also the Rift contains an inertial measurement unit (IMU) which is providing information about the head position of the user. The data from the IMU is available at an USB interface.
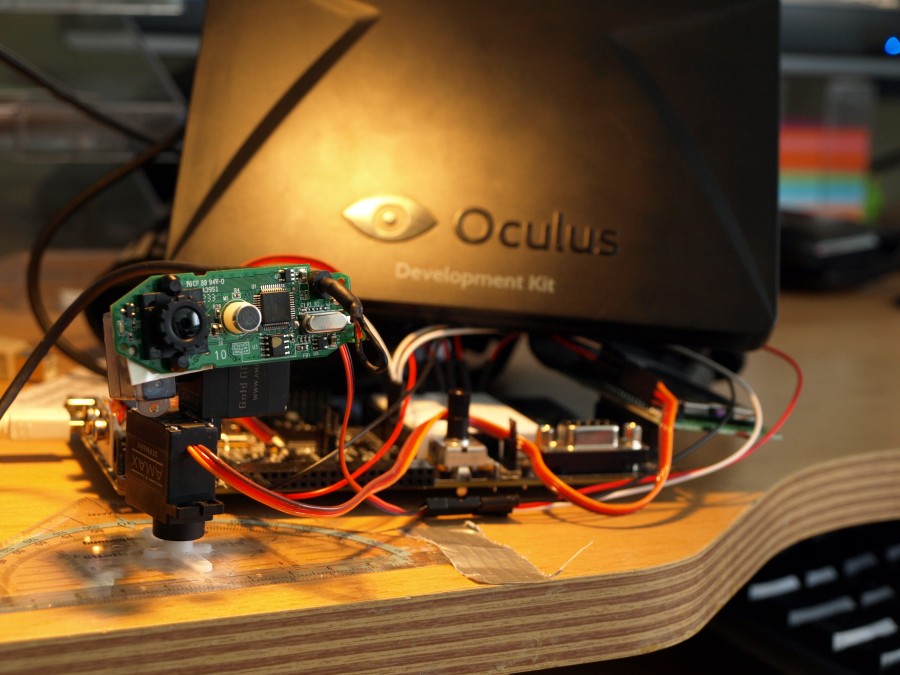
Besides the goggle there is a control box in which there is most of the electronic to interface with a computer or similar.
Display Specifications (Oculus SDK Overview)
- 7 inch diagonal viewing area
- 1280 x 800 resolution (720p). This is split between both eyes, yielding 640 x 800 per eye.
- 64mm fixed distance between lens centers
- 60Hz LCD panel
- DVI-D Single Link
- HDMI 1.3+
- USB 2.0 Full Speed+
Tracker Specifications (Oculus SDK Overview)
- Up to 1000Hz sampling rate
- Three-axis gyroscope, which senses angular velocity
- Three-axis magnetometer, which senses magnetic fields
- Three-axis accelerometer, which senses accelerations, including gravitational
How it started
After I tried the Oculus Rift the first time in 2013 I immediately wanted to build something up with it. Relatively fast I decided to develop some kind of camera system which is mounted on 3 servos. The head movement of the user should be followed by the cameras.
I first build the camera control. I glued 3 Servos together and mounted the PCB of a webcam to it. For controlling I used a PSoC5LP which is a bit overkill for something like that but I needed 3 16Bit-PWMs and a USB-UART Interface. Basically the PSoC is receiving messages from the PC and is transforming them into corresponding PWM signals.
I set up a LabView test environment and it worked right away. The next step was a bit trickier… I had to interface the Oculus Rift in order to get the Position of the users head which I want to send to the user. The Drivers are written in C++ and I developed on C#. Therefore the drivers need to be wrapped to establish a communication. At the time I started developing only very view wrappers had been available and none of them worked like it should. So I had to take the one which was working at least rudimentary and do extend it a bit. I missed a lot of features of the SDK but at least I got a quaternion which can be used to get euler axis out of it (yaw, pitch, roll). So that I have got those axis I can send them right away to the servos, right? Well… No. The signal need to be scaled so that 180° of head movement result in 180° of head movement. Also the midpoint need to be set and there are min/max values for the servos which need to be considered and there might be an option to invert the movement if the servo is mounted upside down. Here is a test of the camera movement.

The next step was to bring the camera image into the Oculus Rift. This is the point when things start to become difficult. There need to be 2 images, one for each eye. Each image has to be fully moveable and resizable independently as it has to match exactly the field of view of the user. The biggest issue however is that the lenses of the oculus rift distort the image. In order to compensate the distortion by the lenses, the output image also has to be distorted. The first approach was to distort it using an algorithm inside of the application. It worked but the framerate was something around 3 fps. The solution however was to use a pixelshader. A pixelshader is a small programm which is running on the GPU of the computer which is designed for jobs like that and can do it way faster than the CPU. After that the system was ready for a first test.
I was impressed how good it actually worked and I felt that I need to go further. Although the image was not stereoscopic (just 1 camera) it was very impressive. I was a bit afraid that the latencies would be to big but it worked just fine.
The next step was to get 2 wide angle cameras which should be cheap and have a USB-connection. Well there are just very few available which are also small enough to mount them on the servo. I bought 2 used Genius – Widecam F100, removed the housing and attached them to the servos. Although the fps are low the stereoscopic effect blew my mind.
How it continued
Great, so I got a camera system that is giving the illusion to be wherever the camera is. For me this is some future technologie which will come for sure but I think ~2025 maybe as there still a lot of challenges: motion sickness etc.. But this shouldn’t be a blocking point right?
So but how to proceed while studying full time? Make it an official project. I got the permission to proceed development as a team project for my master studies. Perfect!
Of course just a camera is a bit… useless so my new project team and I searched for applications. We ended up with a crane control software. As software alone is a bit boring we decided to implement the idea on the basis of a toy crane. The idea is to mount the camera on top of the crane where the operator usually sits. The operator then can control the crane using a joystick while he gets all relevant information displayed inside the Oculus Rift.
Small gaudes had been designed and PCBs soldered. To make a long story short:
Presentation Video:
And if you are a bit more interested in the GUI and how the system works:
1 thought on “Oculus Rift Crane”